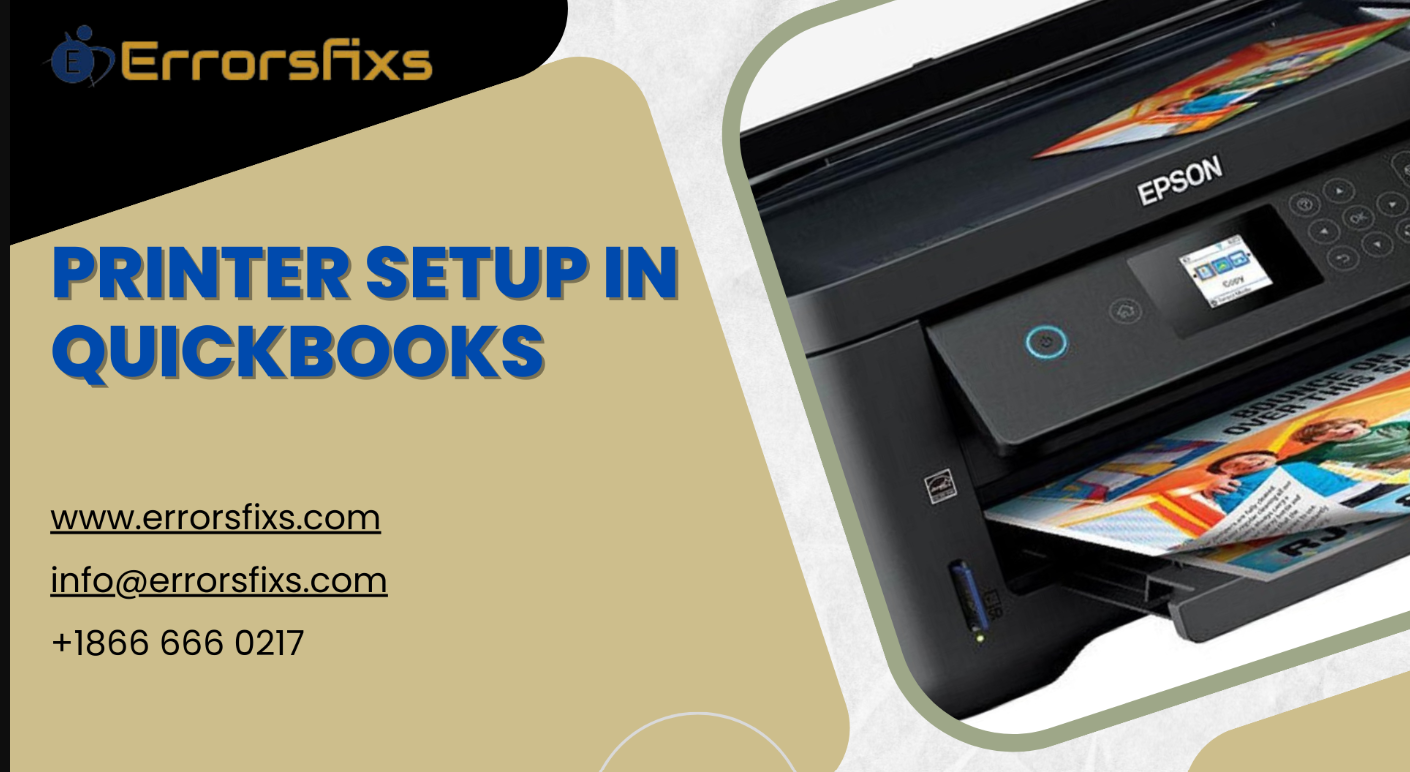
QuickBooks, a widely used accounting software, simplifies various business tasks, including managing finances, generating reports, and creating invoices. Printing these documents is crucial for record-keeping and sharing information. This comprehensive guide equips you with step-by-step instructions on setting up printers in both QuickBooks Desktop and QuickBooks Online, ensuring seamless document printing.
Understanding Printer Setup in QuickBooks
QuickBooks allows you to configure various printers for different purposes. You can designate a specific printer for invoices, checks, or reports, providing flexibility and control over your printing output. Here's a breakdown of the essentials:
Printer Drivers: Ensure you have the latest printer drivers installed on your computer. These drivers allow your operating system and QuickBooks to communicate effectively with your printer. Most printer manufacturers offer driver downloads on their official websites.
Paper Selection: Choose the appropriate paper type for your printing needs. Standard white paper is suitable for invoices and reports, while pre-printed check stock is required for printing checks.
Print Preview: Utilize the print preview functionality within QuickBooks to ensure your documents appear correctly before sending them to the printer. This allows you to adjust formatting and layouts if needed.
Setting Up a Printer in QuickBooks Desktop
1. Accessing Printer Settings:
Open QuickBooks Desktop and navigate to the File menu. Select Print Setup.
2. Choosing the Form Name:
Within the Print Setup window, a dropdown menu labeled "Form Name" will list various document types like invoices, statements, and checks. Choose the type of document you'd like to configure a printer for.
3. Selecting the Printer:
In the "Printer Name" dropdown menu, choose the printer you want to use for the selected document type. Ensure your desired printer is properly connected and powered on.
4. Customizing Print Settings (Optional):
Depending on your printer and document type, you might have additional options within the Print Setup window. These could include:
Paper Size and Orientation: Specify the paper size (e.g., letter, A4) and orientation (portrait, landscape) for your printouts.
Margins and Layout: Adjust margins and fine-tune the layout of your document within the printable area.
Number of Copies: Indicate the number of copies you want to print.
5. Saving and Testing Your Settings:
Click OK to save your printer configuration for the chosen document type. You can then utilize the Print Preview button to view a sample printout before sending the document to the actual printer.
6. Setting Up Additional Printers:
Repeat steps 2-5 for any additional document types and printers you want to configure within QuickBooks Desktop.
Setting Up a Printer in QuickBooks Online
1. Accessing the Settings:
Log in to your QuickBooks Online account and navigate to the Gear icon in the top right corner. Select Settings from the dropdown menu.
2. Finding the Printing Section:
Within Settings, locate the Printing section. You might need to navigate through subcategories depending on your specific QuickBooks Online version.
3. Choosing the Form Name:
Similar to Desktop, a dropdown menu or list will display various document types. Choose the one you want to configure a printer for.
4. Selecting the Printer:
A dropdown menu or list will present available printers connected to your computer. Select the desired printer for the chosen document type.
5. Saving and Testing (Optional):
Click Save to confirm the printer configuration for the chosen document type in QuickBooks Online. While online preview might not be available for all documents, you can usually access a sample PDF version before printing.
Additional Considerations:
Mapping Network Printers: For networked printers on a local network, ensure proper mapping is established between your computer and the printer in your operating system settings before configuring it within QuickBooks Online.
Third-Party Printing Solutions: QuickBooks Online integrates with some third-party printing solutions. These solutions might offer additional functionalities or features in terms of printing options or customization.
Conclusion: Streamlined Printing for Optimal Workflow
Setting up printers correctly in QuickBooks ensures smooth document printing and helps maintain organized records. By following the detailed instructions for both Desktop and Online versions, you can configure your printing preferences with ease. Remember to utilize print preview functionalities and experiment with layout settings to achieve the desired output for your invoices, checks, and reports. With a properly configured printer setup, QuickBooks empowers you to streamline your workflow and efficiently manage your business documents.
Visit us : https://www.errorsfixs.com/quickbooks-printer-setup/






.png)
Write a comment ...